Category: Garden Maintenance

  • Garden Maintenance is a Journey, Not a Destination

    Garden Maintenance is a Journey, Not a Destination

    I’ve spent the last few days overwhelmed with how far behind I am in my home’s garden maintenance.

    Yesterday, I knocked the weeds down with a weed wacker because they were so overgrown.

    This morning, I flame-weeded our gravel driveway.

    Finally, I hoped to tune up the lawn mower but fell behind in my plans.

    The Perfect Day Maintaining Gardens?

    I used to think that if I woke early, had a good plan, and worked hard, I could finish my garden maintenance chores in one or two days.

    The family and I would barbecue chicken with an Italian glaze while enjoying the immaculately maintained landscape. Fresh-cut flowers adorn a vase at the center of the table.

    While I sometimes rise early, I never get as much done as I want.

    In summary, I get sidetracked, and tasks often (always) take longer than anticipated.

    Weather can also cause delays.

    How did I get so far behind?

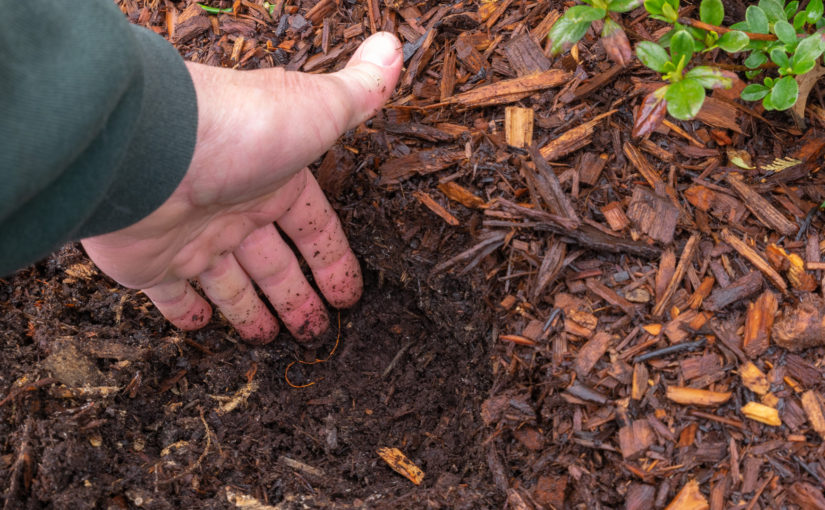
    I stopped weeding my garden in September last year. I’ve been experimenting with flame weeding, and the hose to the torch broke.

    I searched the internet for a replacement hose, but nobody had it in stock.

    I visited a local propane supplier. The replacement hose cost more than the torch and hose did new.

    I lost motivation.

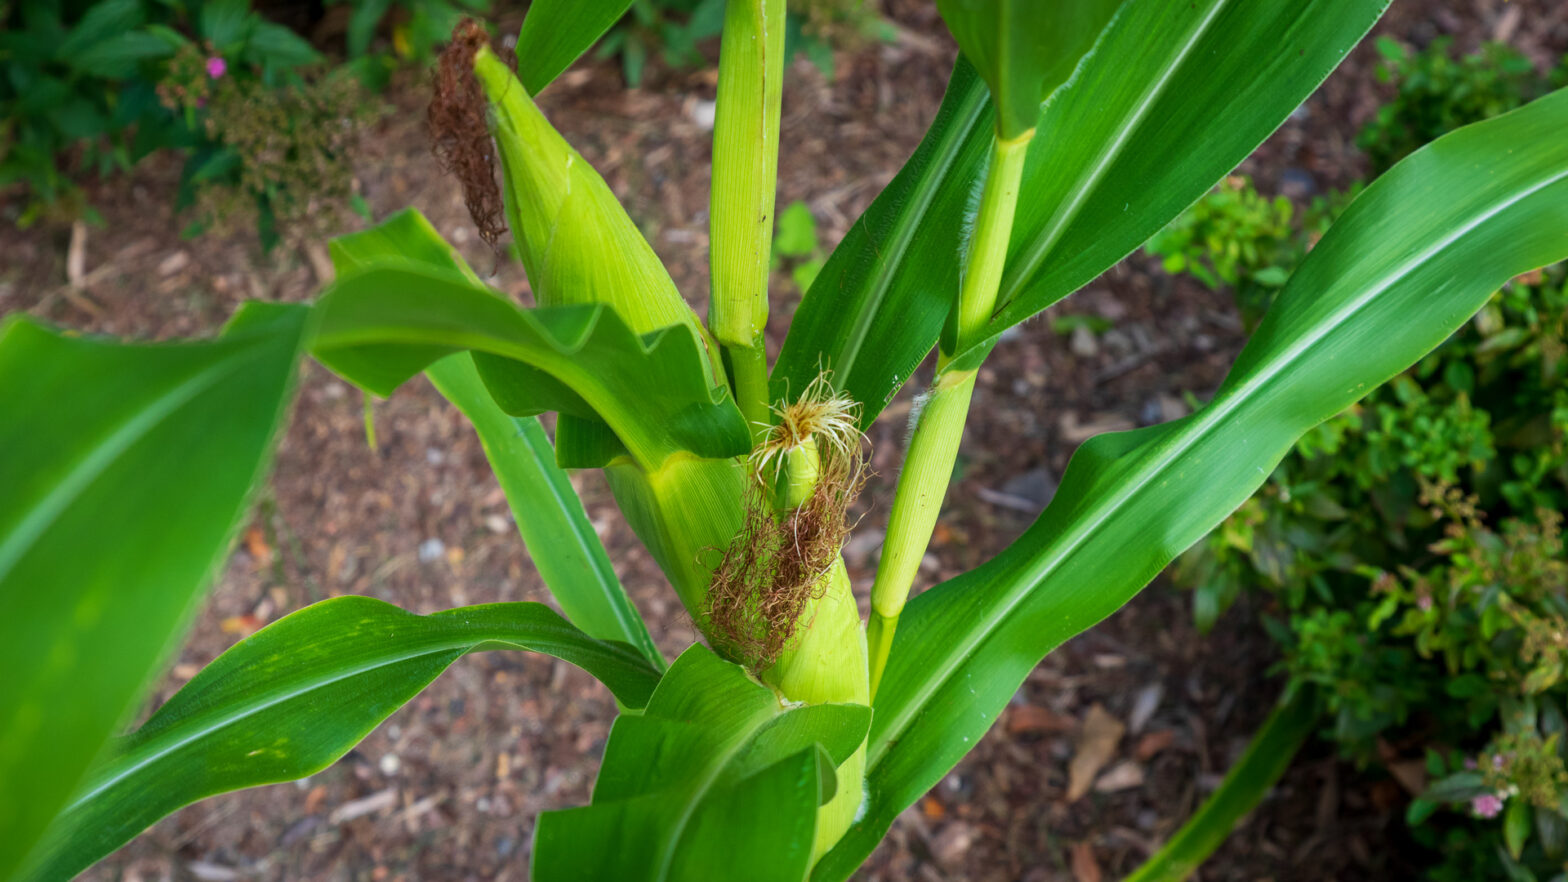
    Winter annual weeds, especially chickweed and grassy weeds, overtake my gardens.

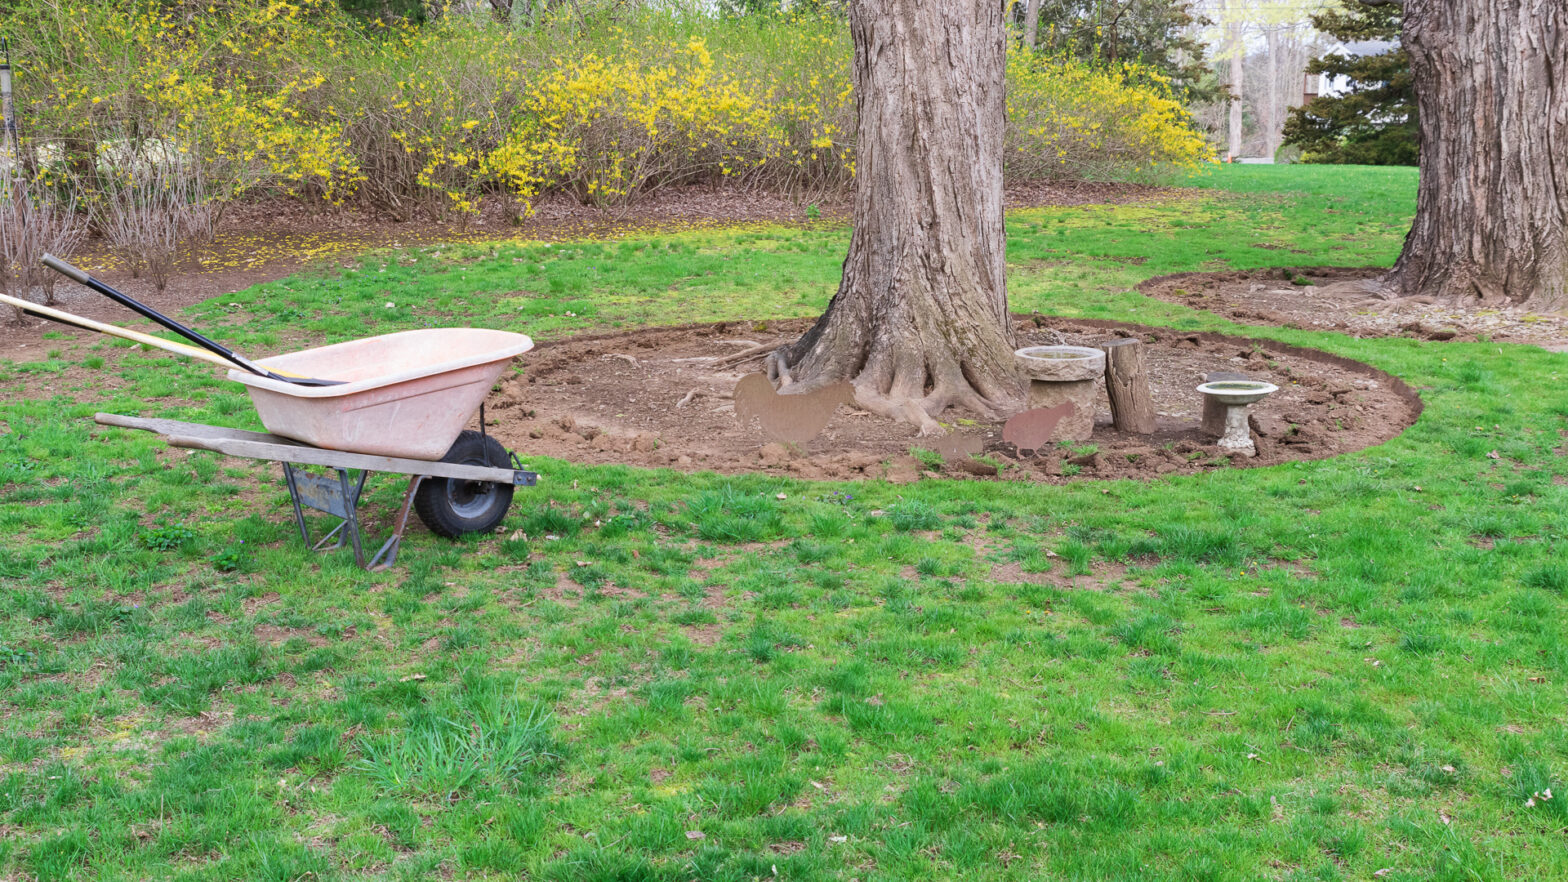
    Sugar maple seedlings carpet parts of the landscape.

    Our Newtown, CT, arborist visited twice last winter and cut the wood to log lengths. I cut the equivalent of three large sugar maples worth of wood.

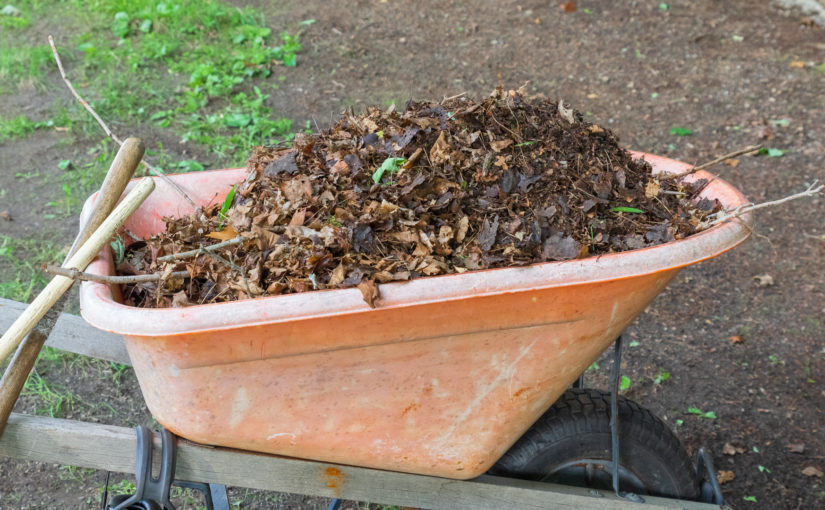
    While cutting the logs, I could have been picking up sticks, cutting back perennials and weeding.

    I don’t regret the decision.

    It gave me an immense sense of accomplishment.

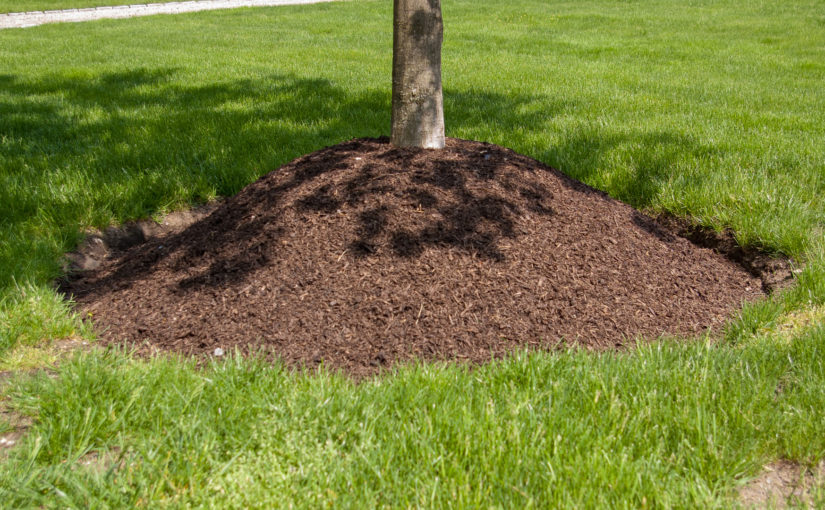
    The Reality of Maintaining Gardens

    While many wait for the first warm day to start working in the garden, we should do what we can when we can.

    Work at a steady pace and gradually move forward. Enjoy time in the landscape throughout the year, not just in the spring.

    John Holden

    That’s how to make great landscapes.

  • What Doesn’t Belong Here?

    What Doesn’t Belong Here?

    I stumbled on a corn plant while maintaining a client’s garden a couple of months ago. Most people would have pulled the plant.

    Corn Plant Growing in Foundation Planting August 22

    I love it when volunteers show up in the garden! Whether animal or vegetable, it doesn’t matter.

    Nature is Random and Ordered

    Nature is both random and ordered—certain plants like certain conditions. If conditions are right, those plants will grow.

    In nature, plants grow in groups with some overlap. There will be fewer plants on the edge of the group than in the center. Different plants with similar requirements can grow in the same group.

    Nature is not neatly sheared balls with perfect spacing and a mulch bed. Nature is quite the contrary.

    Parts of a Corn Plant

    Corn plants are wind-pollinated. You’ll never see a farmer grow a single row of corn. You’ll see corn growing in blocks so that the wind can spread pollen among the plants.

    Wind knocks pollen off of the plant’s tassels, the male part, at the top of a corn plant.

    Corn Tassels on Corn Plant Growing in Foundation Planting

    Pollen falls onto the silk, the female part of the corn plant. There is one strand of silk for each kernel of corn.

    Ear of Corn on Corn Plant Growing in Foundation Planting

    Corn plants can have more than one ear of corn.

    Ears of Corn Growing on Corn Plant in Foundation Planting

    Where Did the Corn Plant Come From?

    I would guess one of the neighbors had a bird feeder in their yard; and a raccoon, squirrel, or bird brought the corn to the garden. The animal must have missed a kernel, and it grew.

    We’ve had a very wet summer with no drought—excellent conditions for corn.

    I asked if it was okay to leave the corn plant when weeding the gardens in June. I forgot about it until my client sent a picture of the mature corn plant.

    This photo was taken on June 30.

    Corn Plant Growing in Foundation Planting June 30

    By August 22, the corn plant had matured.

    Corn Plant Growing in Foundation Planting August 22

    When I gently rubbed the ears of corn, I could feel the plump, tasty kernels. I look forward to returning with the barbecue and some butter!

  • Will Petunias Self-Seed?

    Will Petunias Self-Seed?

    If soil and light conditions are right, Petunias self-seed readily. The secret is to avoid accidentally weeding tiny petunia seedlings in late spring.

    Self-seeded petunias germinate around Memorial Day here in USDA Hardiness Zone 6. Right when spring rains start to dry out and the air temperature is on the rise.

    Petunia seedlings outgrow weeds in late spring. The seedlings become established before summer annual weeds, such as crabgrass and lamb’s quarters.

    Petunia Grouping Self Seeding Three Years

    Here’s the original planting from three years ago. Note how the flowers are the same color before (below) and different colors after (above).

    Petunias Original Planting

    I added five additional Wave Petunias this year. The Wave Petunias are the purply-lavender flowers on the bottom right.

    Multi-Color Spreading Petunia Grouping From Seed

    If you’re letting your petunias self-sew, be patient. Initially, the tiny seedlings seem to take forever.

    However, you’ll begin seeing flowers in a few weeks, and the fun begins.

    Self-Sown Petunia Flower Variations

    I enjoy the variation of colors and shapes of self-sewn petunias more than planting one cultivar. Note the pinks, whites, and a gradient from pink to white.

    Petunias that Self-Sewed Pinks Whites

    White with a touch of lavender and rounded petals.

    Petunia White Rounded Petals

    A bold lavender pink. Note the white center.

    Purple Pink Petunias

    Deep red with pointy petals and a lighter-colored center.

    Deep Red Petunia with Pointy Petals

    Lavender-to-white gradient with a white center and pointed petals.

    Petunias White to Lavender Gradient Pointy Flowers

    Lavender-to-white gradient with a white center and rounded petals.

    Petunias White to Lavender Gradient Rounded Flowers

    Tips for Self-Seeding Petunias

    I haven’t mulched my gardens for a few years. The lack of mulch may be why petunia seedlings thrive.

    I can’t say if petunias will self-sow if you mulch around the plants.

    Where to Plant Petunias

    Petunias like soil on the drier side, although once in bloom, I water and fertilize them regularly with bloom booster.

    Although petunias like full sun, they tolerate less light. The petunias below are growing in partial shade.

    Petunia Grouping Self Seeding Three Years

    I plant petunias and other annuals next to a walkway or seating area where they can be viewed often.

    Can Petunia Self Seed in My Garden?

    The first year my pansies self-sowed, I was unsure how they would do. They grew only because I didn’t weed for a few weeks, giving the seedlings a chance to grow.

    Initially, I thought there weren’t enough seedlings to fill the space.

    I also believed self-seeded petunias wouldn’t look as good as plants from the garden center.

    I was wrong on both counts.

    If, by chance, the petunias seedlings don’t make it, you can always fill in with some fresh plants from the garden center.

  • Grass Edging Tool for Tree Rings

    Grass Edging Tool for Tree Rings

    Yesterday, I cut a fresh edge around a couple of sugar maples with my favorite grass edging tool. We had rain and fog in the morning and the soil was soft. Perfect for edging!

    Spade for Grass Edging Tool

    Sometimes, I prefer to use a sharp spade to edge the lawn. I don’t always use an edging tool.

    Sharp, clean and oiled tools make me a better landscaper.

    Wheelbarrow Full of Garden Tools

    It’s easier to edge a curved bed with a spade than a grass edging tool. The curve of the spade works with the curve of the bed. Don’t get me wrong, I can cut straight or curved edges with either edger.

    When cutting edges with a spade, keep your cuts close together to avoid a sawtooth edge. You can see each individual c-shaped cut of the spade below which is acceptible.

    Closeup of Fresh Edgings

    I like edging with a spade better but it’s rough on my shoulder and takes more planning. The tighter the curve the more I prefer the spade for an edging tool.

    Closeup of Freshly Edged Tree Rings

    Cleaning up Edgings

    It didn’t take long to re-edge these two tree rings with my grass edging tool. I decided to wait to clean up the edgings. In a day, or two, the edgings will dry out becoming lighter and easier to clean up.

    Wheelbarrow with Freshly Edged Tree Rings in Background

    I use a flat shovel or pitchfork to pick up the large pieces of grass and rocks—a light raking levels out the remaining soil.

    Edgings are great for filling low spots in the yard. Further, if you’re lucky, there’s a low spot closer than where you would dump the debris.

    Wheelbarrows

    I purchased that wheelbarrow from A.M. Leonard over 20 years ago. It’s lightweight, heavy-duty and bulletproof. If you like quality tools, I recommend this A.M. Leonard wheelbarrow. A.M. Leonard makes the same wheelbarrow with a flat-free tire.

    Wheelbarrow and Birdbaths near Freshly Edged Tree Rings

    Edging Lawn with Spade Video

    At the end of this video, starting at 7:15, I show you my method for edging beds with a spade rather than a grass edging tool.

  • Saying Goodbye

    Saying Goodbye

    Yesterday was a melancholy day at Land Designs Unlimited LLC. A client of 5 years is moving and yesterday was my last visit.

    There’s a chance the new owners will want my services, I hope they do. Unfortunately, experience has taught me it rarely works that way.

    This landscape is special for a couple of reasons. First, the owners are very nice and it’s a pleasure working for nice people. Second, I planted this landscape after the ‘correction’ of 2008 when the economy, and landscaping industry, was shaken to its core.

    When I first looked at the landscape I knew it was going to take a lot of work. The masonry investment was going to be equal to, if not more than, planting.

    Colonial Foundation Planting Before

    The landscape would never look right with a bandaid. A stone wall and new sidewalk had to be installed.

    Colonial Foundation Planting

    They were meeting another well-established company that worked with any budget, even if the job required a larger investment. Did I mention this was after the ‘correction’ of 2008?

    I suppose the other company was more client-focused for I politely insisted the landscape be done my way. There was no way I was installing a landscape without a retaining wall to hold back the grade.

    Siberian Carpet (Microbiota decussata) Weeping Over Sidewalk

    I explained my design concept and assumed I’d never hear back. I reassured myself that I was polite, I spoke from the heart and I wasn’t going to be responsible for a shoddy landscape.

    The project came together superbly with a few hitches. The wire from their lamp post twisted around my tiller, a first, and I used more soil than anticipated which happens often. Also, the redbud planted on the left corner of the house didn’t pull through a bitter winter.

    Entryway Planting

    After installation, I visited four to six times a year to maintain the landscape, not too much, but enough to make a difference.

    Every spring there would be an edging, weeding and light pruning with fresh mulch every two to three years. I returned in June or July to hand prune and keep up with weeds over the summer.

    Plants Weeping over Sidewalk

    Some visits took only an hour; just enough time to pull the weeds, prune stray branches and re-edge the gardens with a weedwhacker.

    The shrubs in this foundation planting have NEVER been touched by hedge clippers. I’ve only used my Felcos to prune. I hope you can see how natural the shrubs look.

    Being a landscape contractor is an endless cycle of finding new clients and losing old to promotions, retirement or being a poor fit.

    I look forward to showing you the landscape I’ve been working on the last few weeks where I find a balance between color and low maintenance.

    Ranch Foundation Planting In Progress

    It’s time to say goodbye to great clients and a beautiful landscape. I’ll miss you both.

  • Fall Cleanup Finished Today

    Fall Cleanup Finished Today

    Today I finished last year’s fall cleanup! Not a moment too soon either, in a few short months leaves will start falling again.

    Let me explain, normally I use a leaf blower to blow the leaves onto the grass then shred them with a lawnmower. However, last year I decided to go Old School and rake the leaves.

    Raking is more work but much more satisfying. Raking leaves is easier in the spring because they are matted, hence, easier to pick up.

    I use a five tine manure fork to pick up the heavy leaves then rake them into a pile. Once in a pile, I use the five tine manure fork again. One more pass of the rake, then I use two rakes as a claw for the rest.

    Finished Fall Cleanup Today a View of Gardens

    Benefits of Mulching Leaves in gardens

    I thought my gardens were going to be a mess. They were anything but!

    Some benefits after letting leaves sit in the gardens all winter include.

    • Fewer weeds.
    • Soft and friable soil.
    • Tons of earthworm activity.

    If you’re a gardener you must be drooling over how nice this soil is and if you’re not a gardener this is what you want your soil to look like.

    Friable Soil

    A New Paradigm for Fall Cleanup

    Why do we clean up leaves in the garden, often disposing of them off-site, only to haul in mulch?

    What if I run a mulching mower over the beds and let the leaves stay where they are? This will also eliminate cutting back many perennials.

    Below is my compost pile. I’ve got about six yards of compost that will become two to three yards of gorgeous soil.

    Future Compost with Potatoes Growing in it

    A wheelbarrow of leaves ready for the compost pile.

    Wheelbarrow of Future Compost

    Less work with more benefits!

  • Spread Less Mulch For a More Healthy Landscape

    Spread Less Mulch For a More Healthy Landscape

    This spring I visited a home that had recently been mulched and was shocked at how deep the mulch was and how little preparation went into the job.

    Weeds that had been covered in mulch poked through and the mulch was easily four to five inches deep.

    Weeds Growing Through Mulch

    I recommend carrying a soil knife and removing perennial weeds, such as Dandelion, down to the root before mulching.

    This garden should not have been mulched; the time and expense should have gone into weeding.

    More Weeds Growing Through Mulch

    Deep mulch leads to unhealthy plants and looks unnatural. On some jobs, I have to remove deep, old mulch before applying new.

    Once a garden is established an inch of mulch is all you need.

    Benefits of light mulching include:

    • Mulch won’t require yearly turning.
    • Oxygen can easily enter the soil.
    • Mulched over tree bark won’t become an entry point for insects, disease, and rodents.
    • Water easily filters through.
    • Less mulch looks more natural, like a coating of leaves on the forest floor.
    • Plant roots grow into the soil instead of growing into mulch that quickly dries.

    Whether you’re a contractor or a homeowner try not applying mulch one year and see the difference it makes. Your plants will be healthier with significantly less work and expense.

    Below is a landscape I mulched this spring by applying just enough mulch to do the job. No more. No less.

    Light Coating of Mulch

    Spread less mulch for a more healthy landscape and sometimes you don’t need to add any mulch at all.

  • How to Mulch a Tree Incorrectly

    How to Mulch a Tree Incorrectly

    Every spring I cringe when I see freshly mulched landscapes.  The more is better principle gets beaten silly and mulch spread with reckless abandon.

    This isn’t the first time I’ve discussed how to mulch and it won’t be the last.  How to mulch correctly is a topic worth repeating.

    Volcano mulching is when a mound of mulch is spread around the base of a tree (See photo top of page).  The cone grows yearly with each new layer.  The sooner we can stop volcano mulching the better.

    Below a tree thrives in the forest with no volcano mulching ‘help’ from man.  There’s moss growing at the base of the tree because leaves only begin to cover the ground six inches away.Oak Tree In Forest Mulched by Mother Nature

    Mimic how mother nature mulches.  She doesn’t dump piles of leaves against the base of trees.  She spreads a light coating of leaves over the entire forest.

    Why is this so hard to understand?

    The illustration below shows how to mulch a tree incorrectly by volcano mulching.  Mulch spread against the bark creates a moist place that encourages rot.  Further, tree roots grow into the mulch making them drought prone.  Finally, the mulch is so deep rain runs off and doesn’t reach the roots.

    How to Mulch Incorrectly Around Trees

    The illustration below shows how to mulch a tree correctly by spreading 2-3 inches or less of mulch 6-12 inches from the trunk of the tree.  Mulch doesn’t touch the trunk.

    How to Mulch Around Trees Correctly
    If a tree has over 3 inches of mulch carefully remove it without injuring the bark or roots of the tree.

    How to Mulch a Tree Correctly Samples

    Below a tree I mulched last year has some dirt and moss around the base of the tree.  It would be a shame to slowly kill this beautiful tree by over-mulching.

    Tree Mulched Correctly

    Another tree mulched the right way.  You can see dirt at the base of the tree and that’s good.  A few weeds may grow but it’s worth the effort.

    Tree Mulched Correctly

    How to Mulch a Tree Incorrectly Samples

    I often see trees so over mulched you could mulch several more trees with the excess.  I’m not kidding!

    More volcano mulching.  It doesn’t look natural and it’s no good for the tree.  The madness has to stop!How to Mulch Trees Incorrectly Sample 3

    Same look, different parking lot.

    How to Mulch Trees Incorrectly Sample 4

    A beautiful oak tree sentenced to a slow and painful death.

    How to Mulch Trees Incorrectly Sample 3

    Why would someone do this?  I can’t make this stuff up.

    How to Mulch Trees Incorrectly Sample 5

    Please help stop the volcano mulching madness.

  • Another Day at the Office

    Another Day at the Office

    I’ve been working on Lake Zoar in Monroe CT the last couple days.  The weather this week has been beautiful.  High 50’s to low 60’s and sunny.  Last week I worked in a drizzle mixed with snowflakes.

    The improved weather is a welcome change.

    The picture at the top of this post is a fire pit overlooking Lake Zoar.  If you look over the end of the dock you can see the Stevenson Dam in the distance.

    Below is one of the gardens I’ve worked in.  It’s straight forward spring maintenance; clean up leaves and sticks, weed, prune winter damage, cut back perennials, edge, turn mulch and re-mulch.

    Garden Ready for Mulch

    Besides working on a lake there are two streams flanking the property.  I’ve listened to babbling brooks most of the day.

    Babbling BrookNo matter how far in my career I am mother nature beats me every time.  She uses just the right mix of elegance and randomness.  If we take a moment to truly look at nature she is something to behold.

    Roaring Stream
    I urge you to go out and look at, not rush through, nature. It does wonders for the mind and body.  Time to head to work. Poor me. 🙂