This week I finished installing a stepping stone path.
This stepping stone path is unique for a couple of reasons.
First, it provides a much-needed way to move through the garden. There’s no way to cross the garden without it.
Second, the stepping stone path gently curves to add interest. The path curves left to make room for a future PG Hydrangea on the right.
I’m looking forward to filming the garden when completed.
How to create a Curved Stepping Stone Path
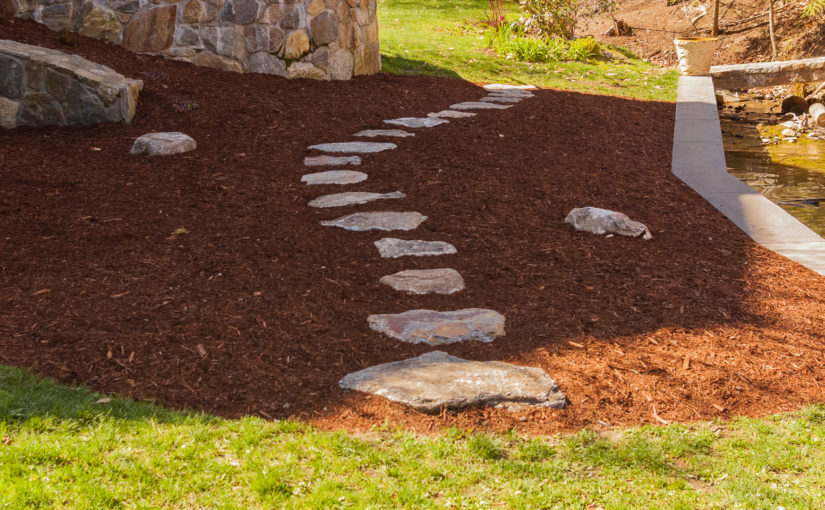
When I started there was no way to get through the bed. The plants were randomly planted with no sense of purpose.The white line is where the stepping stone path will be.It took me a day to select, deliver and roughly place the stepping stones. It took a day and a half to install them. The work usually goes faster. I chose some odd-shaped and large stones. I’m very pleased with the results.Placing the stones is a two-step process. First I roughly place the stones. Next I put an X in the middle with a grease crayon and space them 26.5″ on center. The first and last stone go 13.25″ from the edge of the bed. The beginning and end never work out perfectly. I spread the difference between the last few.Set stepping stones 2-3″ high so they aren’t covered by mulch. Nothing is more annoying than covering your freshly placed stepping stones.I’ve been working on a lake the last couple weeks and enjoying some incredible views. The mulch in this bed is pure Hemlock Bark. My favorite.
A while back I filmed how I install stepping stones. While I’ve gotten better at producing videos the way I lay stepping stones hasn’t changed a bit.